WebVirtMgr 安装教程
说明:本教程中 WebVirtMgr 在同一台服务器上,ip地址为 192.168.100.60
安装nginx
#centos7安装
yum -y install net-tools
#nginx 安装
echo ‘[nginx-stable]
name=nginx stable repo
baseurl=http://nginx.org/packages/centos/\$releasever/\$basearch/
gpgcheck=1
enabled=1
gpgkey=https://nginx.org/keys/nginx_signing.key
module_hotfixes=true
[nginx-mainline]
name=nginx mainline repo
baseurl=http://nginx.org/packages/mainline/centos/\$releasever/\$basearch/
gpgcheck=1
enabled=0
gpgkey=https://nginx.org/keys/nginx_signing.key
module_hotfixes=true’ >/etc/yum.repos.d/nginx.repo
yum install -y nginx
systemctl restart nginx
安装相关依赖
yum -y install git python-pip libvirt-python libxml2-python python-websockify supervisor
yum -y install gcc python-devel
wget https://bootstrap.pypa.io/pip/2.7/get-pip.py
python get-pip.py
mkdir -p /var/www/
cd /var/www/
git clone https://github.com/retspen/webvirtmgr.git
#安装 webvirtmgr
cd webvirtmgr
pip install -r requirements.txt
环境初始化
./manage.py syncdb
#配置管理员用户,提示创建一个管理员,根据提示输入管理员的账号邮箱地址和密码
Would you like to create one now? (yes/no): yes
Username (leave blank to use ‘root’): root
Email address:
Password:
Password (again):
Superuser created successfully.
# 配置静态页面
./manage.py collectstatic
输入Yes即可
#如果想继续添加其他管理员,清使用下面命令
./manage.py createsuperuser
4、配置 nginx
vi /etc/nginx/conf.d/webvirtmgr.conf
放入如下内容
server {
listen 80 default_server;
server_name $hostname;
#access_log /var/log/nginx/webvirtmgr_access_log;
location /static/ {
root /var/www/webvirtmgr/webvirtmgr; # or /srv instead of /var
expires max;
}
location ~ .*\.(js|css)$ {
proxy_pass http://127.0.0.1:8000;
}
location / {
proxy_pass http://127.0.0.1:8000;
proxy_set_header X-Real-IP $remote_addr;
proxy_set_header X-Forwarded-for $proxy_add_x_forwarded_for;
proxy_set_header Host $host:$server_port;
proxy_set_header X-Forwarded-Proto $scheme;
proxy_connect_timeout 600;
proxy_read_timeout 600;
proxy_send_timeout 600;
client_max_body_size 1024M; # Set higher depending on your needs
}
}
配置 nginx 并启动
mv /etc/nginx/conf.d/default.conf /etc/nginx/conf.d/default.conf.bak
systemctl restart nginx
systemctl start supervisord
chown -R nginx:nginx /var/www/webvirtmgr
配置 supervisord 管理运行的程序
vi /etc/supervisord.d/webvirtmgr.ini
放入如下内容
[program:webvirtmgr]
command=/usr/bin/python /var/www/webvirtmgr/manage.py run_gunicorn -c /var/www/webvirtmgr/conf/gunicorn.conf.py
directory=/var/www/webvirtmgr
autostart=true
autorestart=true
logfile=/var/log/supervisor/webvirtmgr.log
log_stderr=true
user=nginx
[program:webvirtmgr-console]
command=/usr/bin/python /var/www/webvirtmgr/console/webvirtmgr-console
directory=/var/www/webvirtmgr
autostart=true
autorestart=true
stdout_logfile=/var/log/supervisor/webvirtmgr-console.log
redirect_stderr=true
user=nginx
启动程序
systemctl restart nginx
systemctl restart supervisord
iptables -I INPUT -p tcp –dport 8000 -j ACCEPT
iptables -I INPUT -p tcp –dport 80 -j ACCEPT
iptables -I INPUT -p tcp –dport 6080 -j ACCEPT
在浏览器中访问
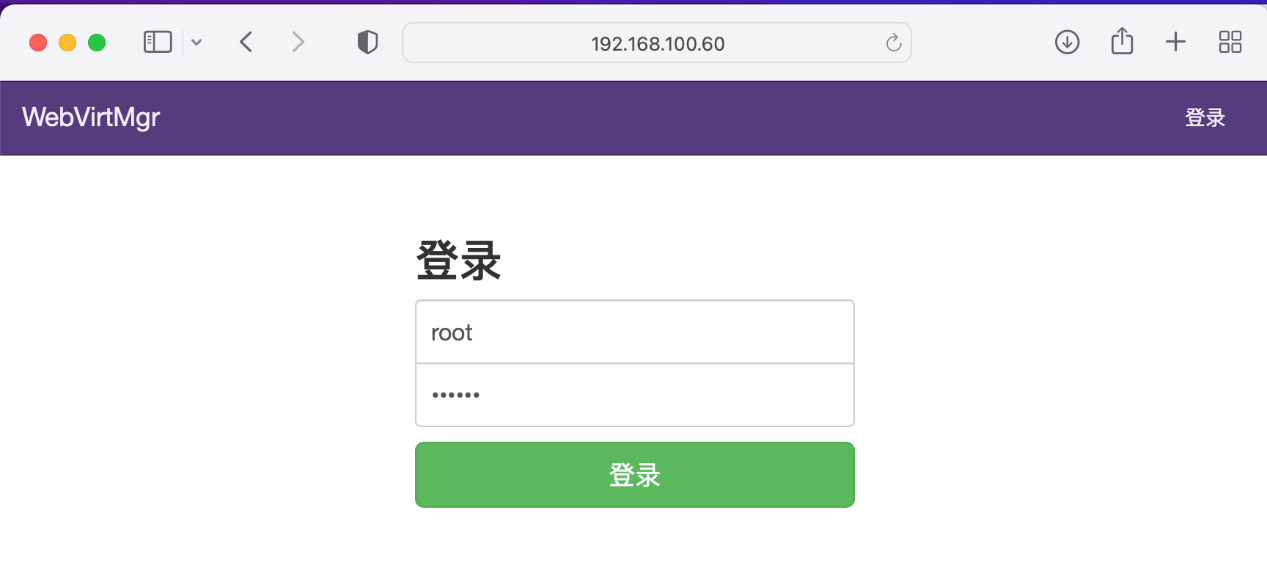
在浏览器中输入本机IP地址,如下图所示
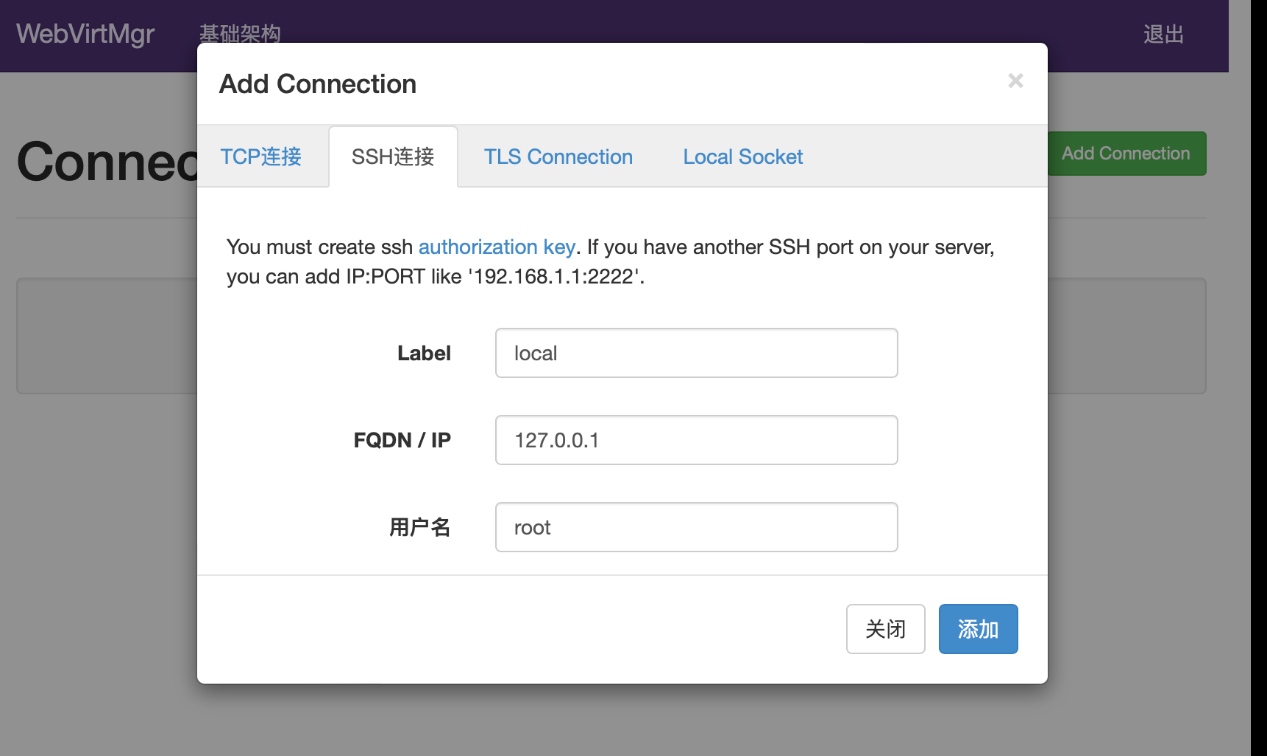
输入上面创建的用户名密码然后点击登录,登录之后点击 Add Connection,添加需要管理的实体机,如下图所示,本教程添加本机,因此 ip是 127.0.0.1,用户名是linux系统的管理员用户名root
错误提示:Cannot recv data: Host key verification failed.: Connection reset by peer
添加完成之后,将出现下图错误提示
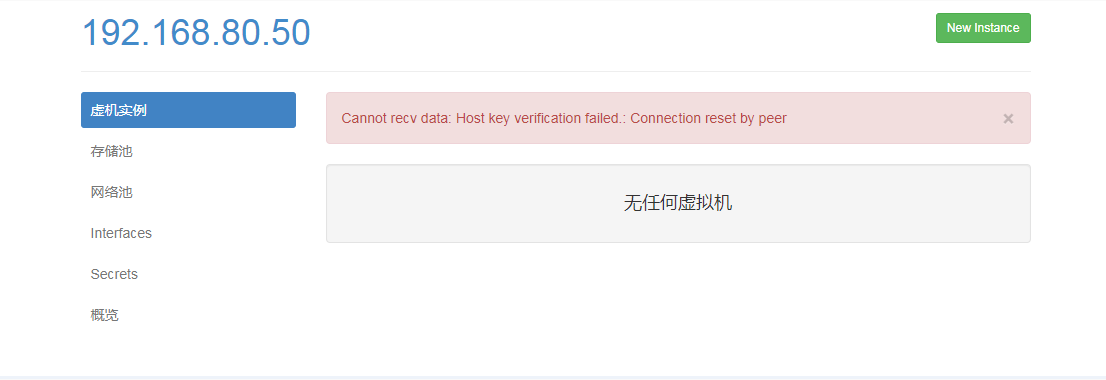
下面操作过程将解决上面的问题
1)在webvirtmgr服务器创建nginx用户家目录(默认nginx服务安装时是没有nginx家目录的),生成nginx的公私钥
cd /home/
mkdir nginx
chown nginx.nginx nginx/
chmod 700 nginx/ -R
chmod 777 /var/cache/nginx/
su - nginx -s /bin/bash
ssh-keygen
touch ~/.ssh/config && echo -e “StrictHostKeyChecking=no\nUserKnownHostsFile=/dev/null” >> ~/.ssh/config
chmod 0600 ~/.ssh/config
2)#在webvirtmgr服务器(服务端)上(这里kvm和WebVirtMgr部署在同一台机器上),将nginx用户的ssh-key上传到kvm服务器上(这里kvm和WebVirtMgr部署在同一台机器上)
ssh-copy-id root@192.168.100.60
exit
3)配置polkit
echo ‘[Remote libvirt SSH access]
Identity=unix-user:root #注意这里采用的是root用户
Action=org.libvirt.unix.manage
ResultAny=yes
ResultInactive=yes
ResultActive=yes’ >/etc/polkit-1/localauthority/50-local.d/50-libvirt-remote-access.pkla
chown -R root.root /etc/polkit-1/localauthority/50-local.d/50-libvirt-remote-access.pkla
#重启程序
systemctl restart nginx
systemctl restart libvirtd
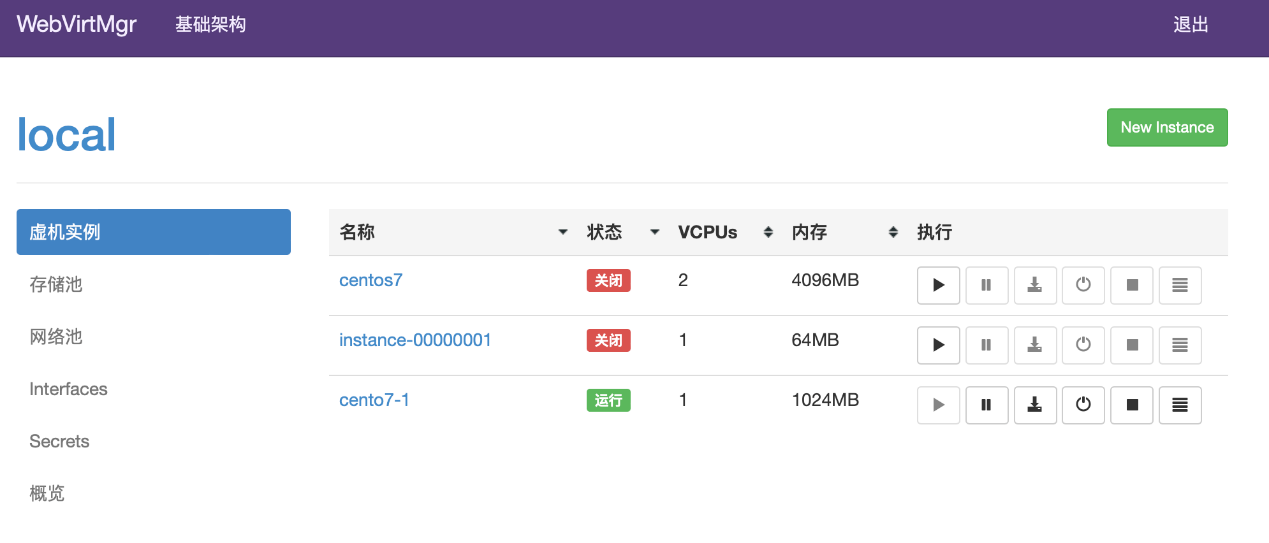
此时再登录将正常显示
参考文章